Quote to Cash
The complete lifecycle of a customer transaction — from initial inquiry to payment in the bank.
This page walks every step of converting a customer request into revenue. Each step refers to the nav path you use inside FilaOps and notes what happens automatically so you can focus on the decisions that require your attention.
The Flow
graph TD
    A[Customer Inquiry] --> B[Create Quote]
    B --> C{Approve / Accept?}
    C -->|Yes| D[Convert to Sales Order]
    C -->|No| E[Revise or Reject]
    D --> F[Confirm Order + Generate Invoice]
    F --> G[Release to Production]
    G --> H[Run Operations]
    H --> I{Full Qty?}
    I -->|Yes| J[Ship Order]
    I -->|No| K[Accept Short on WO → Close Short on Order]
    K --> J
    J --> L[Record Payment]
    L --> M[Verify in Accounting]
Step 1 — Create a Quote
Quotes are numbered automatically in the format Q-YYYY-NNNNNN (e.g. Q-2026-000003).
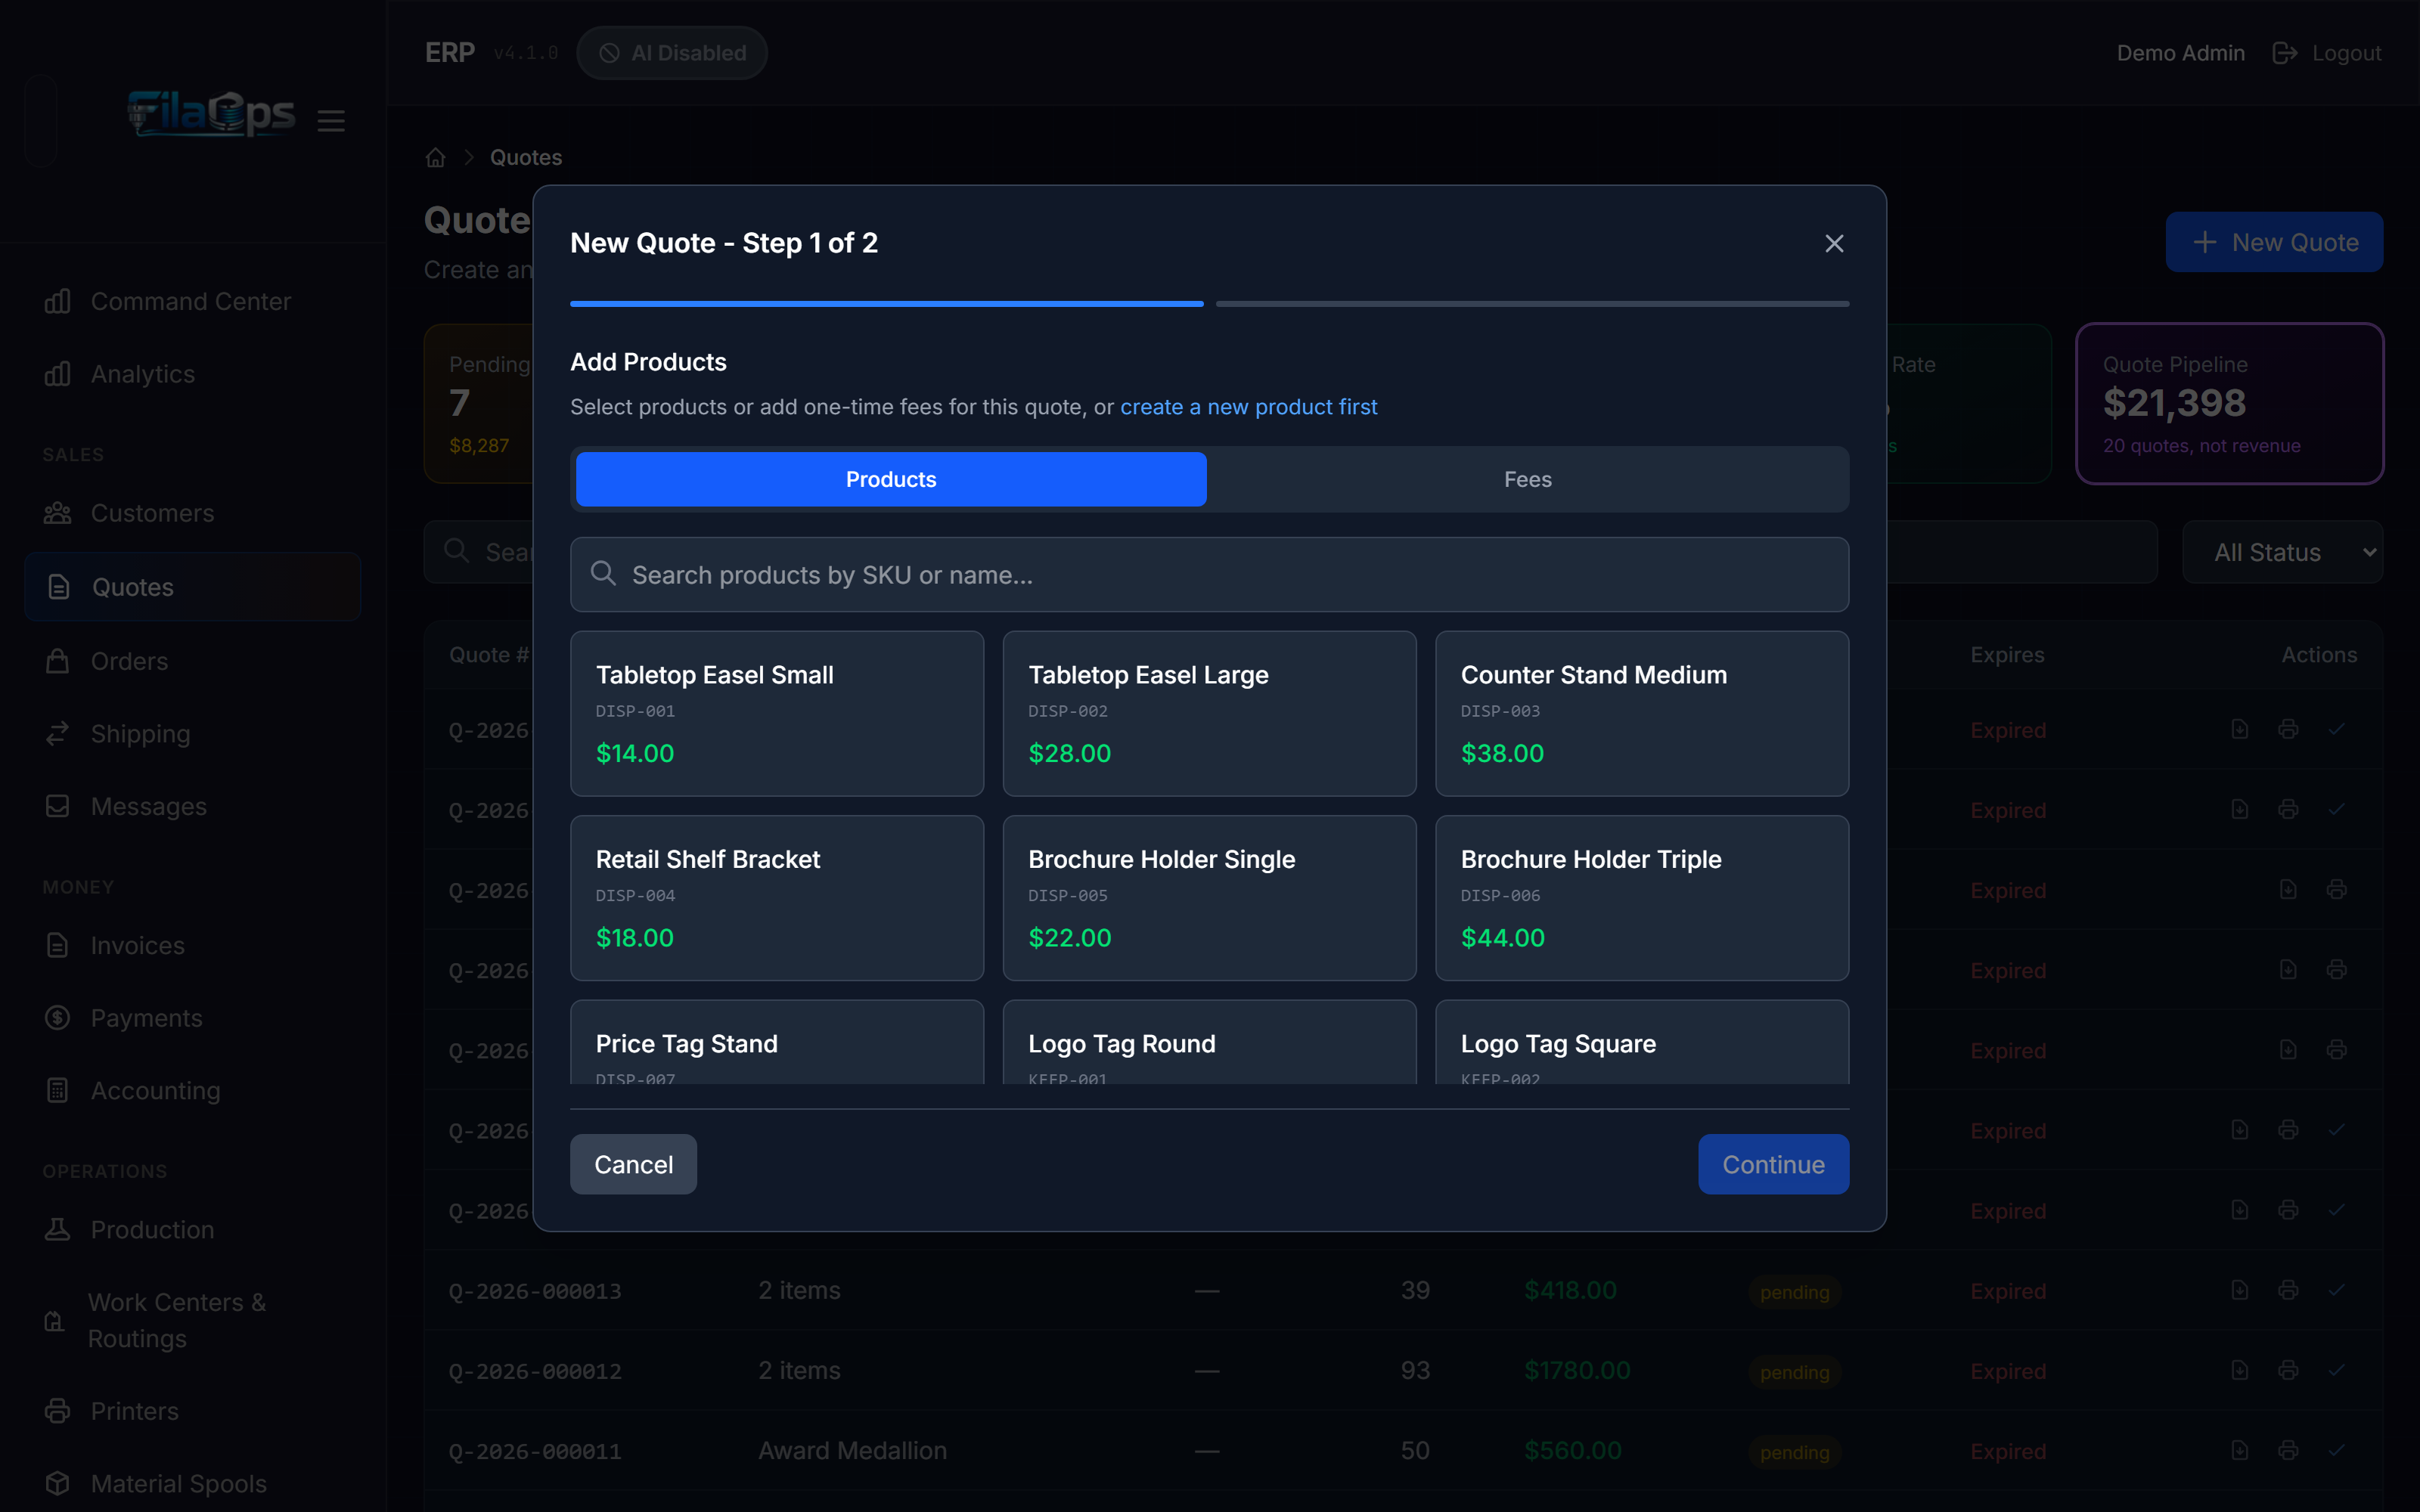
Where: Sales > Quotes > + New Quote
- Fill in the customer name and email (or select an existing customer from the Customer field).
- Choose whether to add a single-item quote (product name + unit price) or a multi-line quote using the line-items grid.
- Set material type and color if relevant — FilaOps validates the combination against your material inventory.
- Toggle Apply Tax if sales tax applies. FilaOps picks up the default tax rate from your Tax Center automatically; you can override it with a specific rate.
- Add a shipping cost and shipping address if known.
- Set Valid Days — the quote expires automatically after this many days.
- Click Save.
The quote starts in Pending status.
Quote statuses
| Status | Meaning |
|---|---|
| Pending | Awaiting your internal review |
| Approved | You have reviewed and approved it internally |
| Accepted | Customer has agreed to the price |
| Rejected | Customer declined or you withdrew it |
| Converted | Converted to a sales order — locked |
| Cancelled | Withdrawn before conversion |
PDF download
Open any quote and click Download PDF to get a formatted quote document with your company branding, logo, line items, totals, validity date, and optional terms and footer text (configured in Settings > Company).
Editing a quote
You can edit a quote freely while it is Pending or Approved. Once it reaches Accepted or Converted status the quote is locked and cannot be modified.
Step 2 — Approve and Accept the Quote
Where: Sales > Quotes > open the quote
- Click Approve to move it from Pending to Approved (internal sign-off).
- When the customer agrees, click Accept to move it to Accepted.
If the customer declines, click Reject and optionally enter a rejection reason.
Skip Approve if you don't need the two-step
You can convert directly from Approved status. The Convert to Order button is enabled on both Approved and Accepted quotes.
Step 3 — Convert to a Sales Order
Where: Sales > Quotes > open the quote > Convert to Order
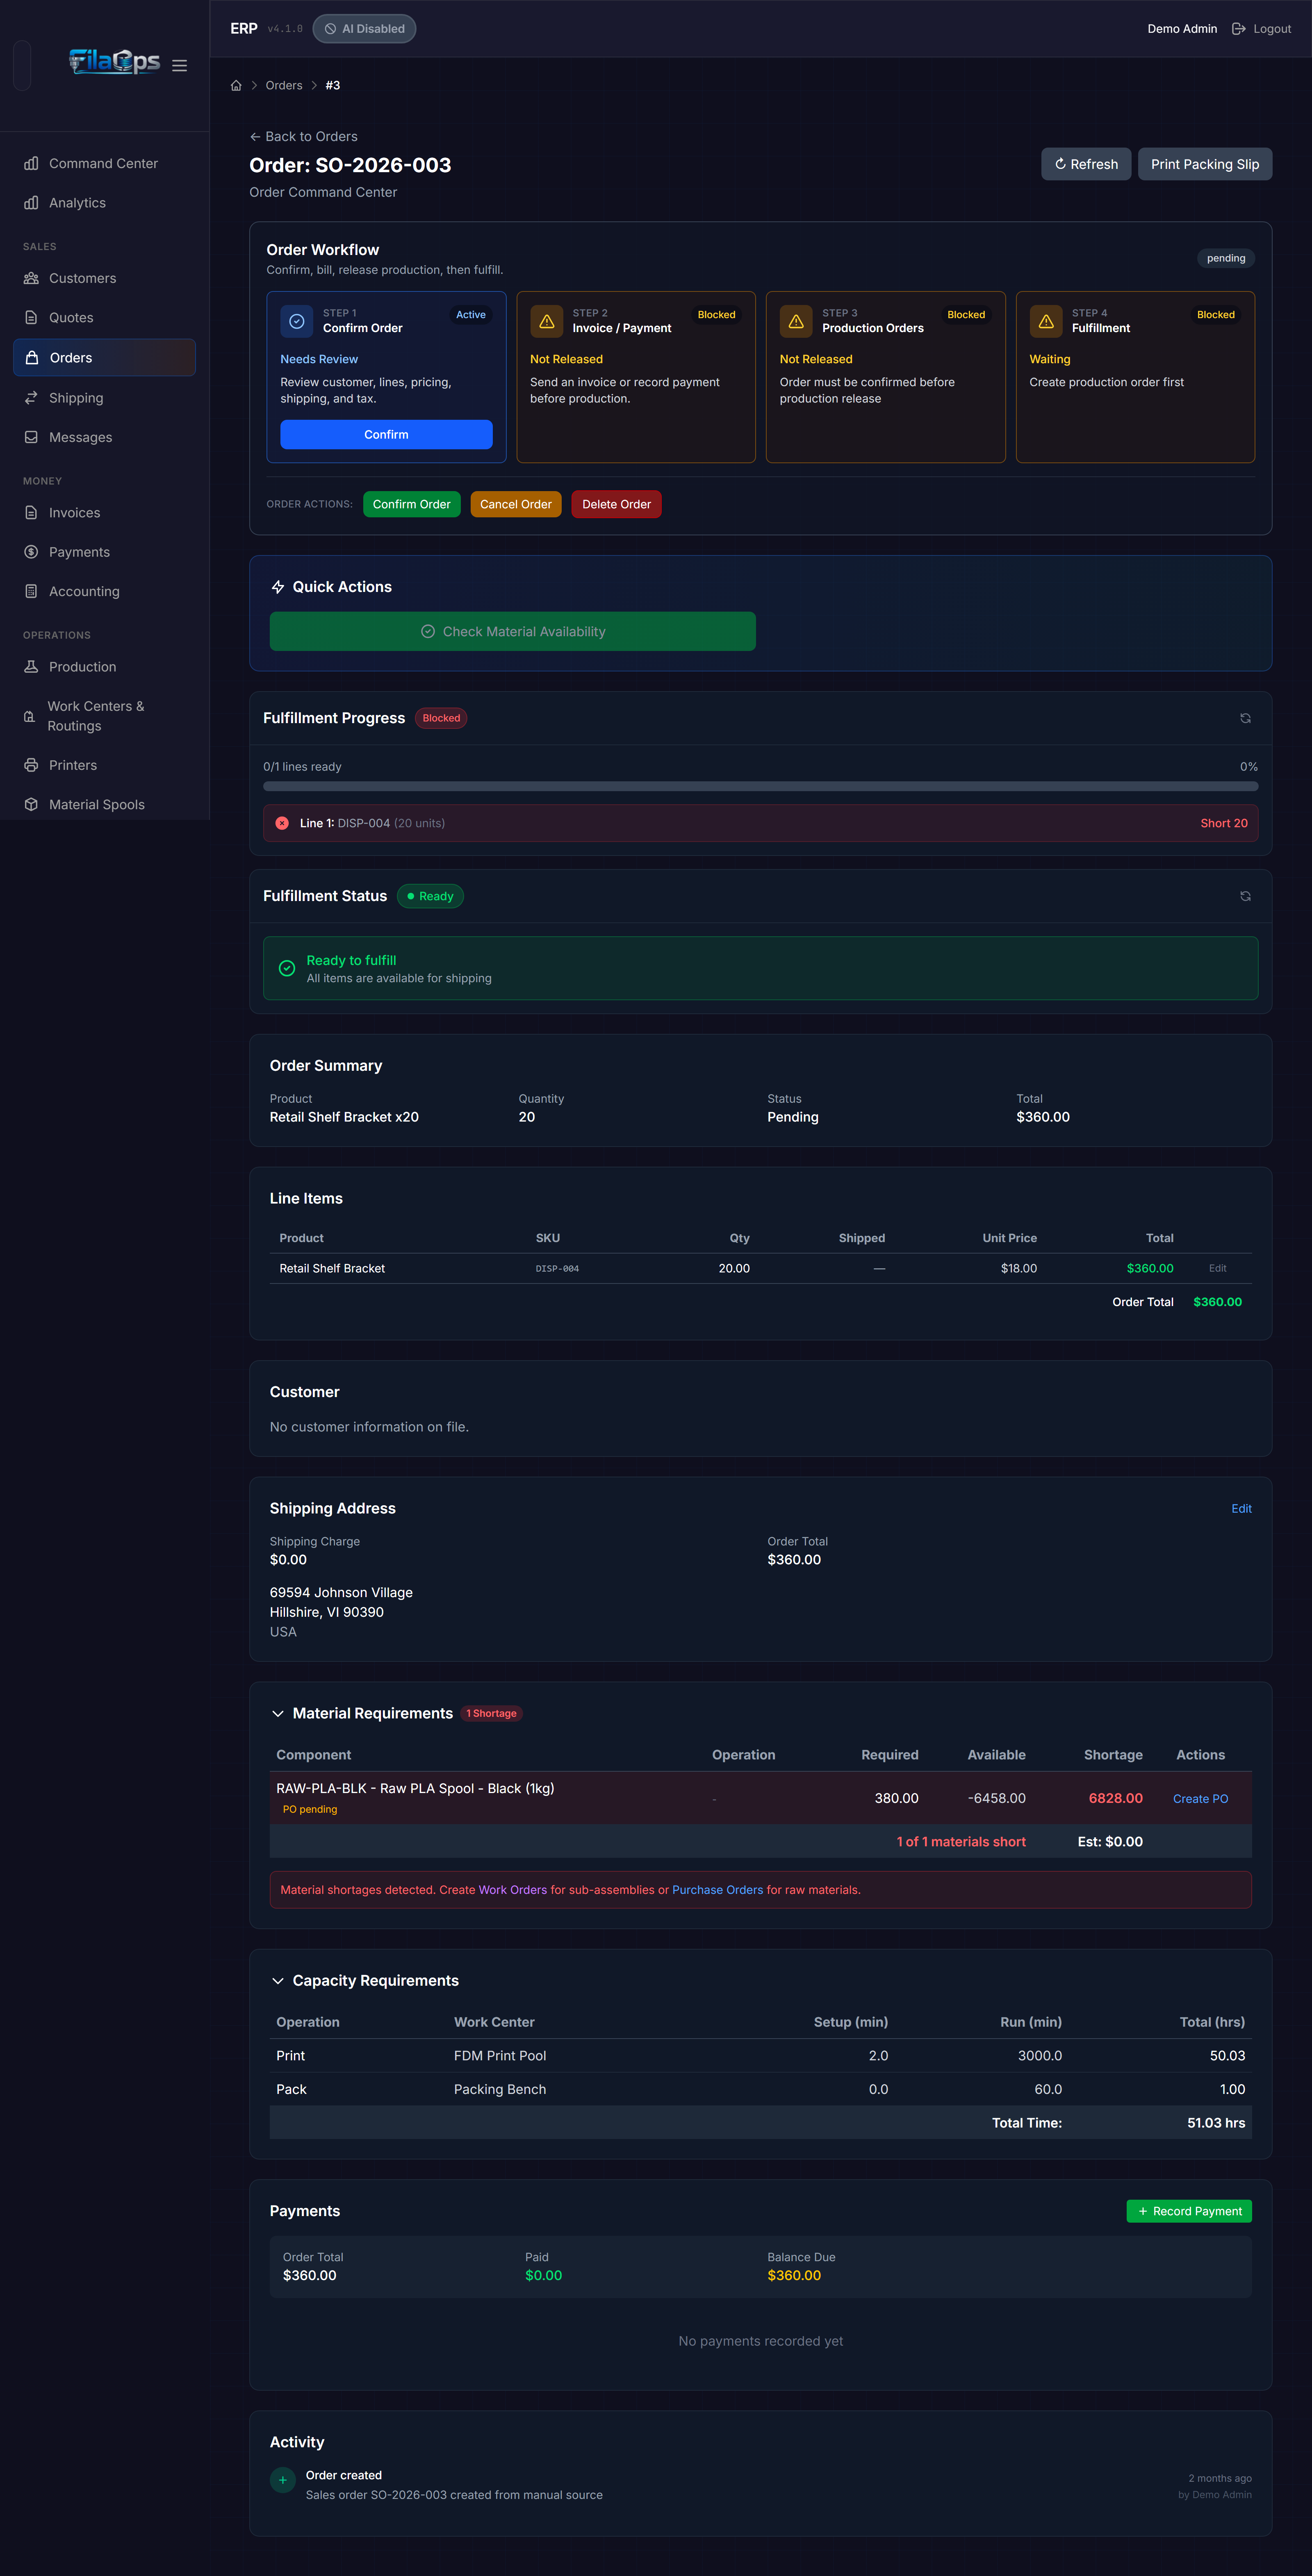
FilaOps creates a sales order pre-filled with all pricing, line items, customer details, and the shipping address from the quote (falling back to the customer's saved address if the quote has none).
- The order number follows the format SO-YYYY-NNN (e.g.
SO-2026-012). - The new order starts in Pending status.
- The quote is marked Converted and cannot be changed.
- FilaOps navigates you directly to the new order.
Manual orders
You can also create a sales order directly at Sales > Orders > + New Order without going through a quote. The workflow from Step 4 onward is identical.
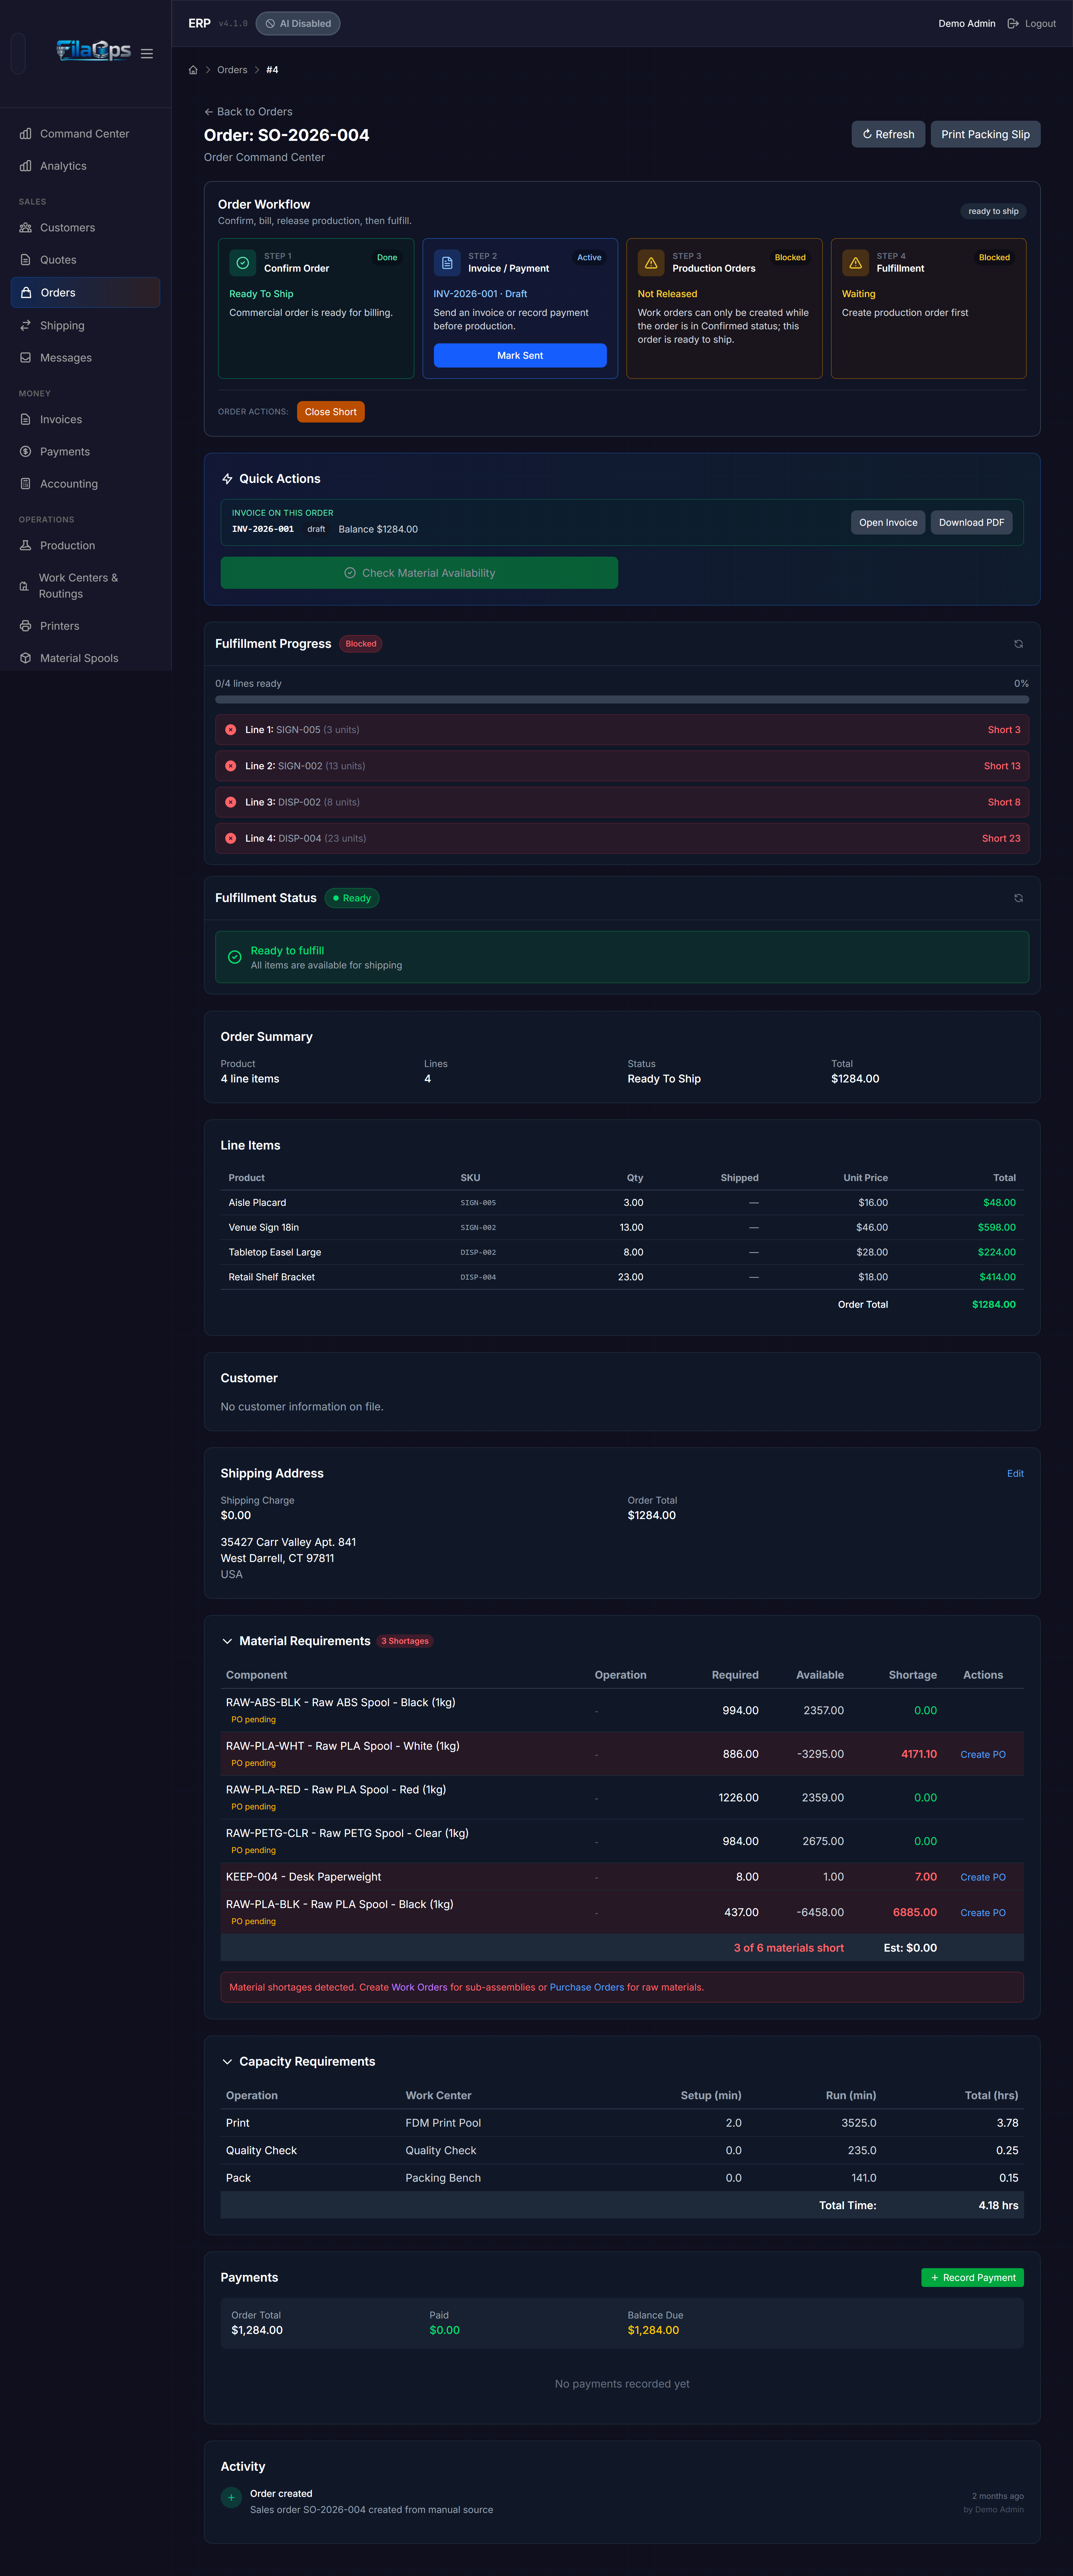
Step 4 — Confirm the Order and Generate an Invoice
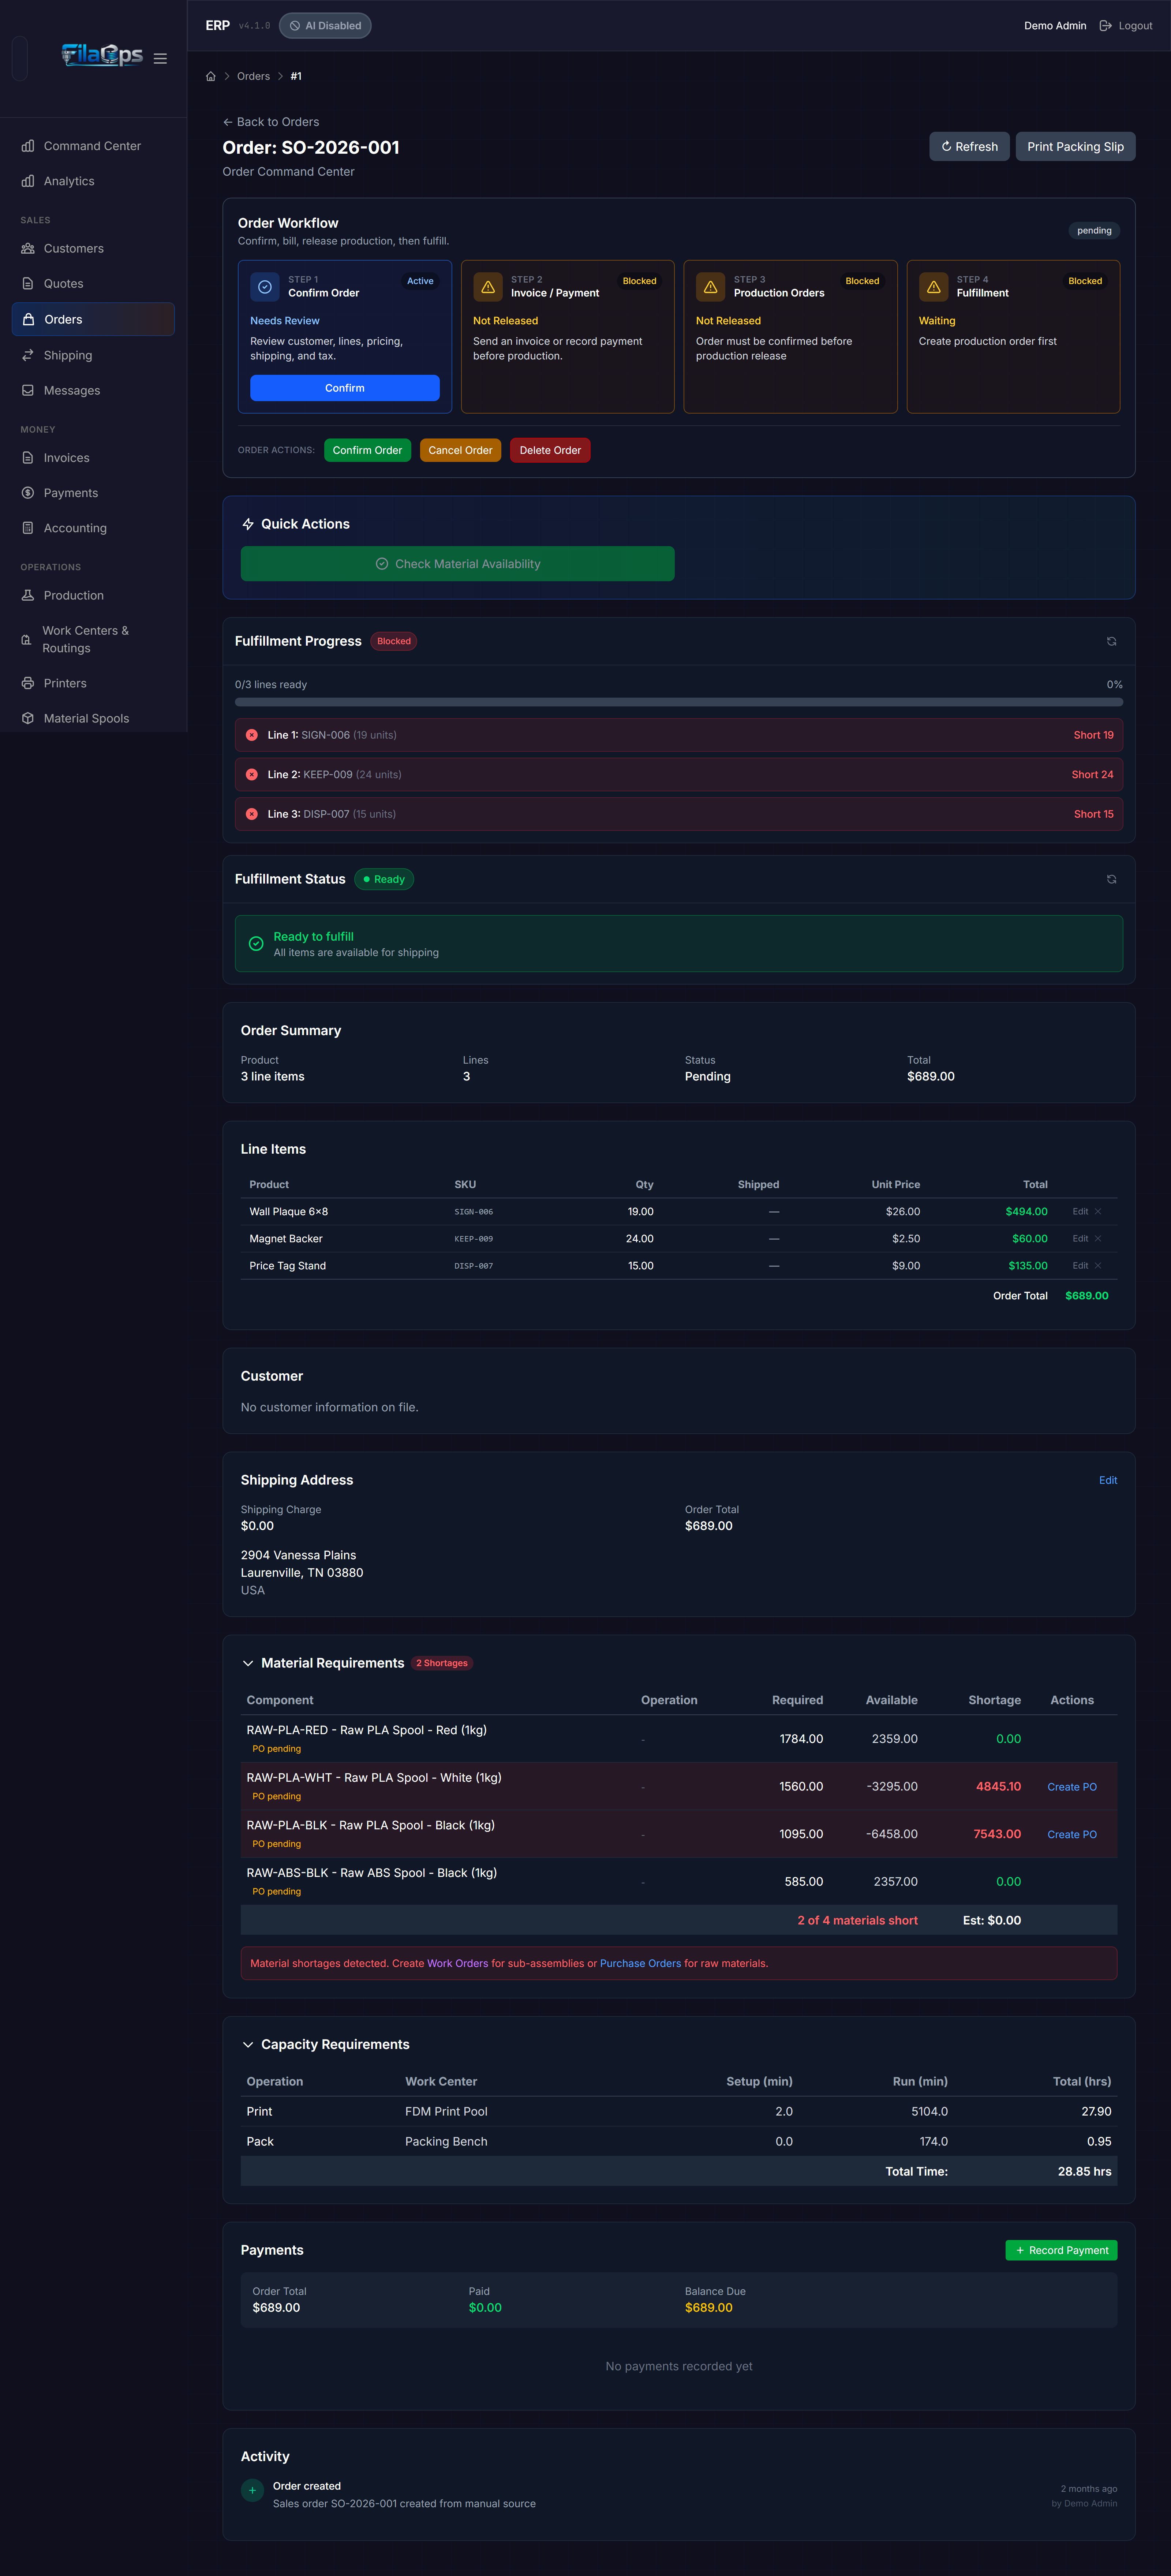
Before production can be released, the order must be Confirmed and a billing action taken.
Where: Sales > Orders > open the order
Confirm the order
Click Confirm (or use the status dropdown to set it to Confirmed). This signals that both sides have agreed to proceed.
Generate an invoice
FilaOps blocks production release until either:
- An invoice exists for the order (draft, sent, or paid), or
- A payment has been recorded directly against the order.
Click Generate Invoice on the order detail page. FilaOps creates an invoice numbered INV-YYYY-NNN (prefix configurable in Settings > Company). The invoice snapshots the customer information, line items, tax, and shipping from the sales order.
Invoice statuses:
| Status | Meaning |
|---|---|
| Draft | Created but not yet sent to customer |
| Sent | Emailed or shared with customer |
| Partially Paid | Some amount received, balance outstanding |
| Paid | Full amount received |
| Overdue | Past due date, not yet fully paid |
You can download the invoice as a PDF from the order detail page or from Money > Invoices.
Step 5 — Release to Production
Where: Sales > Orders > open the order > Release to Production
Once the order is Confirmed and the billing requirement is satisfied, the Release to Production button becomes active.
Clicking it triggers work order generation, which:
- Creates a Work Order (WO) in Draft status for each product line.
- Assigns the active BOM and active routing to each WO automatically.
- Reserves the required materials from inventory.
- Estimates the production cost.
After creation, a Schedule Wizard opens automatically so you can set start/end times and assign resources to the new work orders before the floor sees them.
Check materials before releasing
On the order detail page, the Material Requirements panel shows what is needed and whether you have it on hand. If there are shortages, use the Create PO or Create Work Order buttons in that panel to procure or produce the sub-components before releasing the main WO.
Step 6 — Run Production
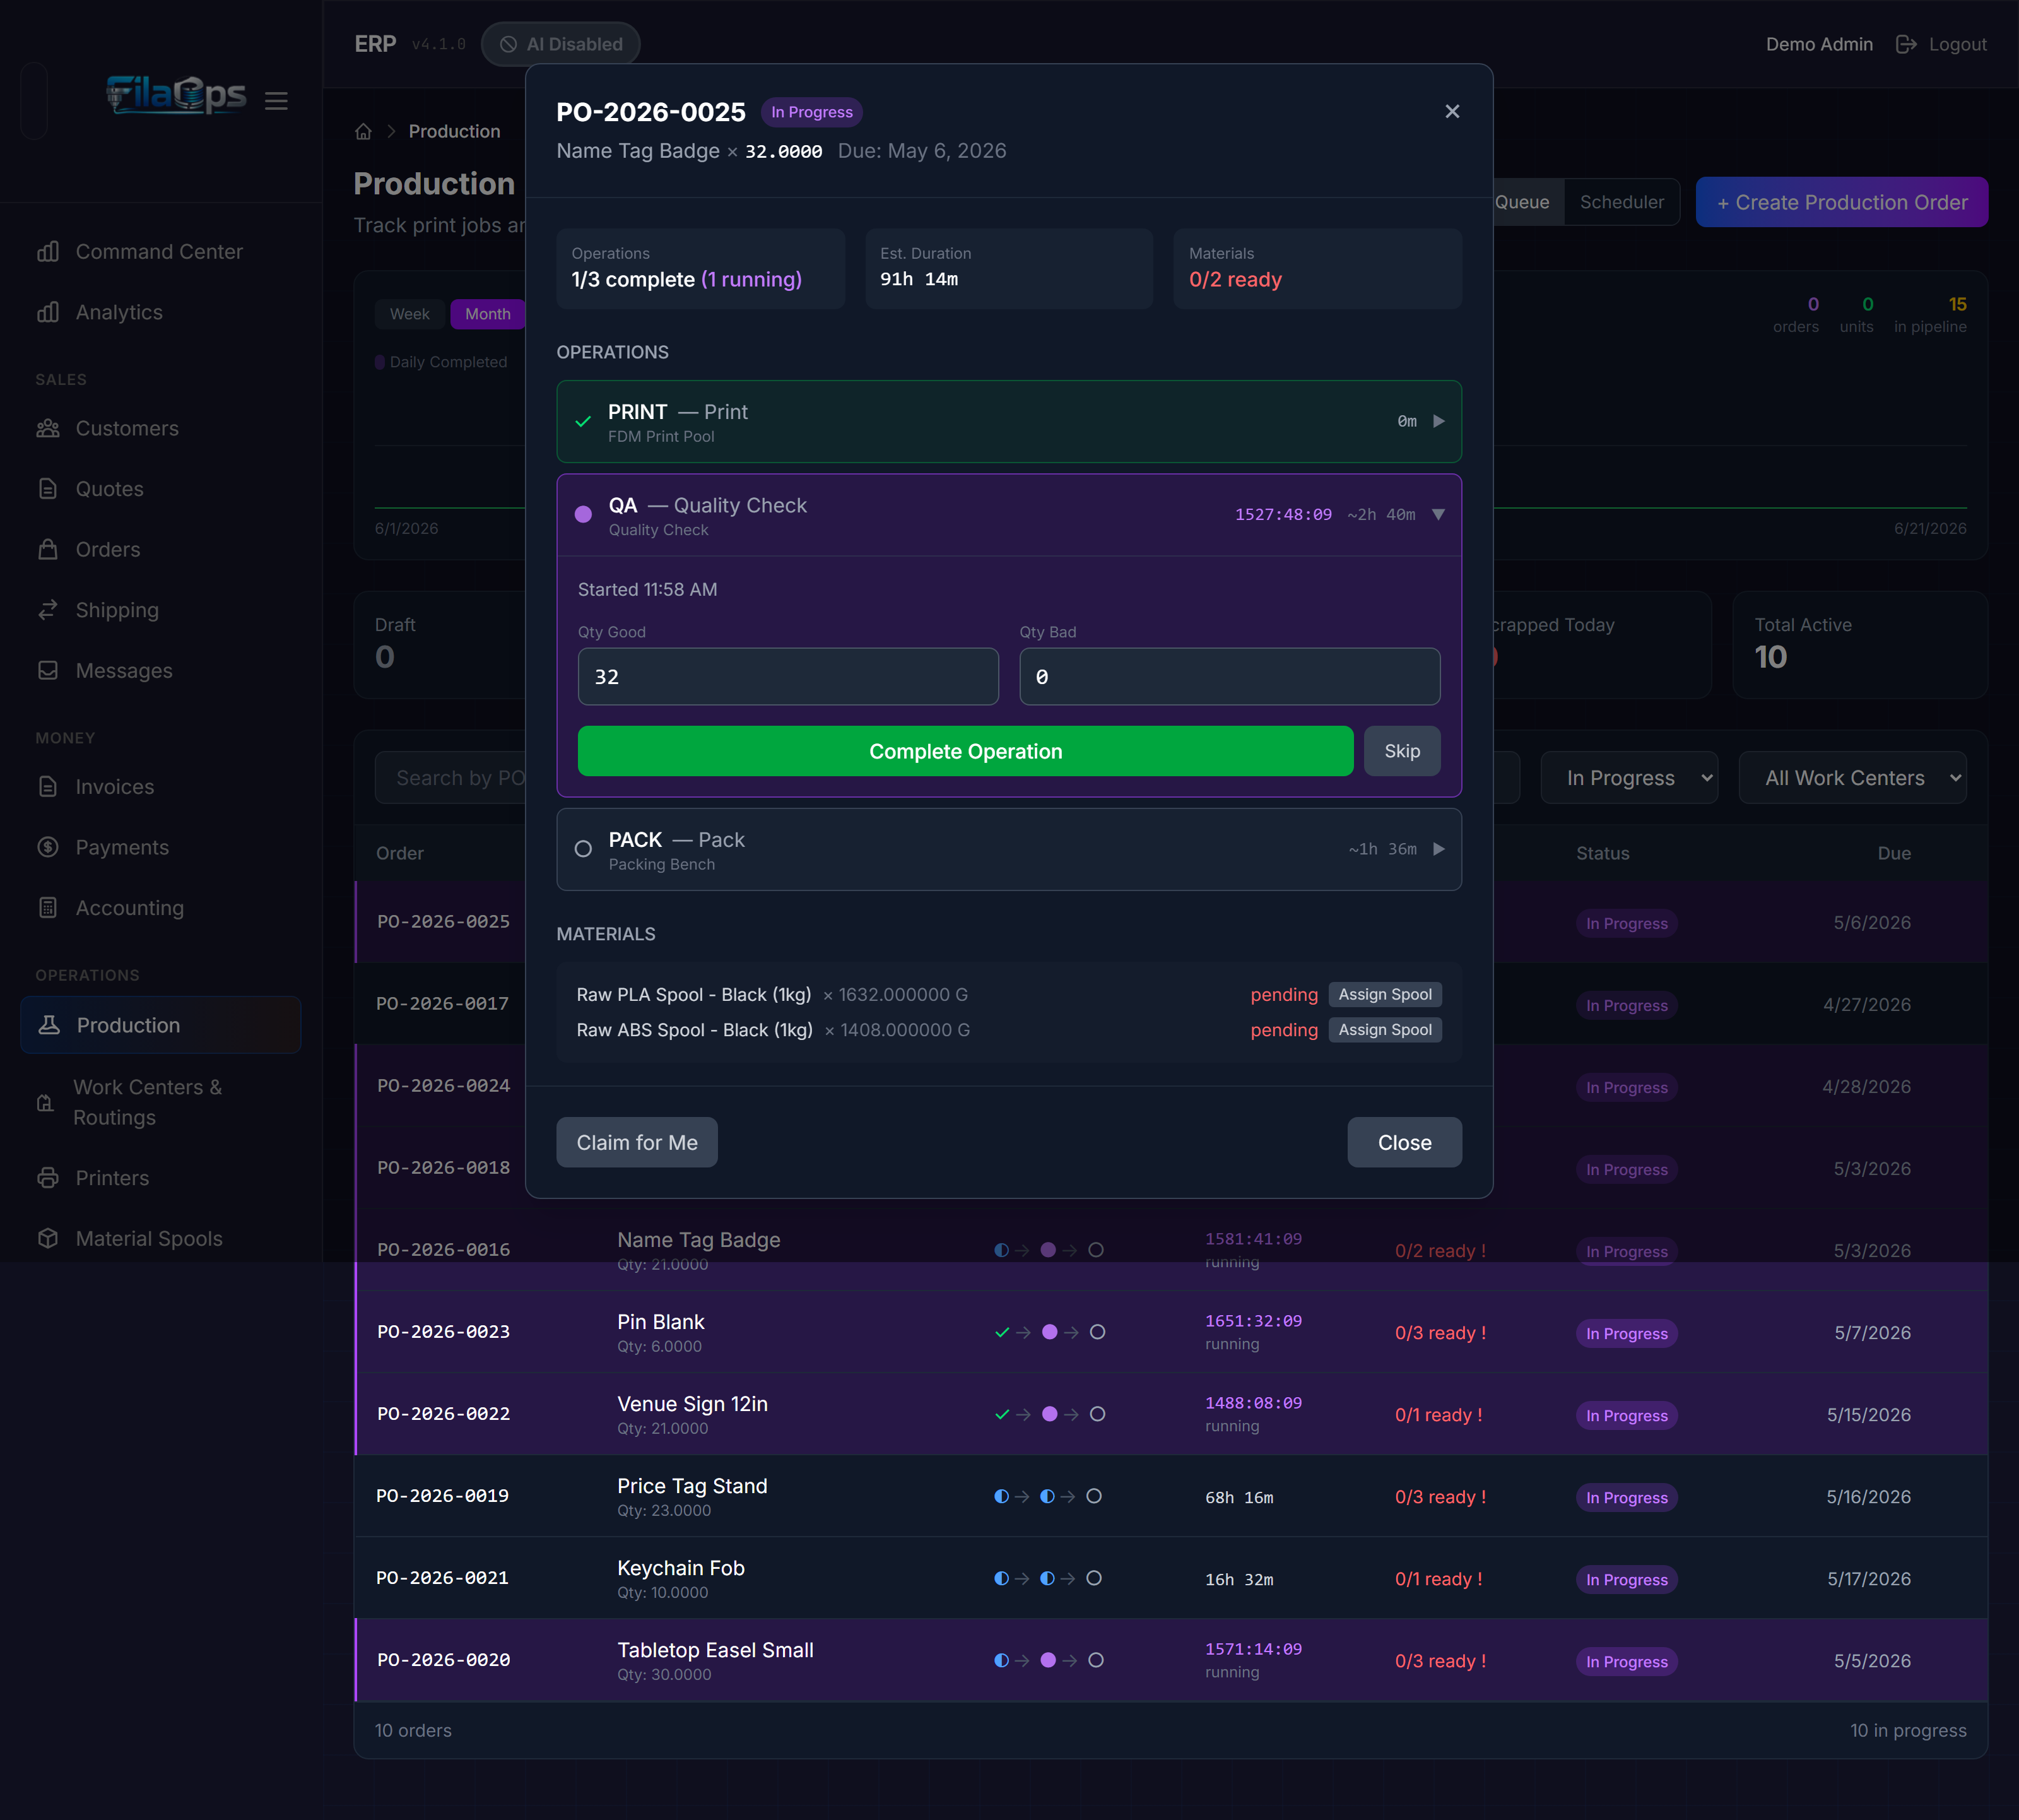
Where: Operations > Production > open the work order
Work orders follow this status progression:
Draft → Released → Scheduled → In Progress → Completed → Closed
                                           → QC Hold → (Closed | Rework | Scrapped)
Release the work order to the floor
Open the WO and click Release to Floor. Status moves from Draft to Released.
Start production
Click Start Production on the WO. Status moves to In Progress. For each routing operation listed under the Operations panel:
- Start the operation when the operator begins work.
- Record actual time at the end of each operation.
- Mark the operation complete.
Complete the work order
When all operations are done, click Complete. FilaOps:
- Sets the WO to Completed and records actual end time.
- If QC inspection is configured, routes the WO to QC Hold for disposition.
- Triggers a status sync: when all WOs for a sales order are complete, the sales order automatically advances to Ready to Ship.
Handling a short production run
If you cannot produce the full ordered quantity:
- On the work order, click Accept Short — completes the WO with the quantity actually produced rather than the ordered quantity.
- On the sales order, click Close Short — a preview shows the achievable quantity per line based on completed WO output. Enter a reason and confirm.
- The order moves to Ready to Ship with adjusted line quantities.
Accept Short first, then Close Short
All work orders linked to the sales order must be in a resolved state (Completed, Closed, Accepted Short, or Cancelled) before Close Short is available on the sales order.
Step 7 — Ship the Order
Where: Sales > Orders > open the order > Ship
When the order is in Ready to Ship status, the Ship action is available.
- Enter the carrier, service level, and optionally a tracking number. FilaOps generates a tracking number automatically if you leave it blank.
- Confirm the shipping address (editable on the order if it needs correcting).
- Click Ship.
FilaOps then:
- Sets the order status to Shipped and records
shipped_at. - Deducts finished goods inventory (and packaging inventory, if applicable).
- Posts a GL journal entry: DR Cost of Goods Sold (5000), CR Finished Goods Inventory (1220).
The shipping timeline on the order detail page shows all shipping events.
Revenue recognition
Revenue is recognized when the invoice is generated and posted — FilaOps debits Accounts Receivable (1100) and credits Sales Revenue (4000) at that point, not at shipment. The shipment GL entry covers COGS only. Both entries appear in Money > Accounting > Sales Journal.
Step 8 — Record Payment
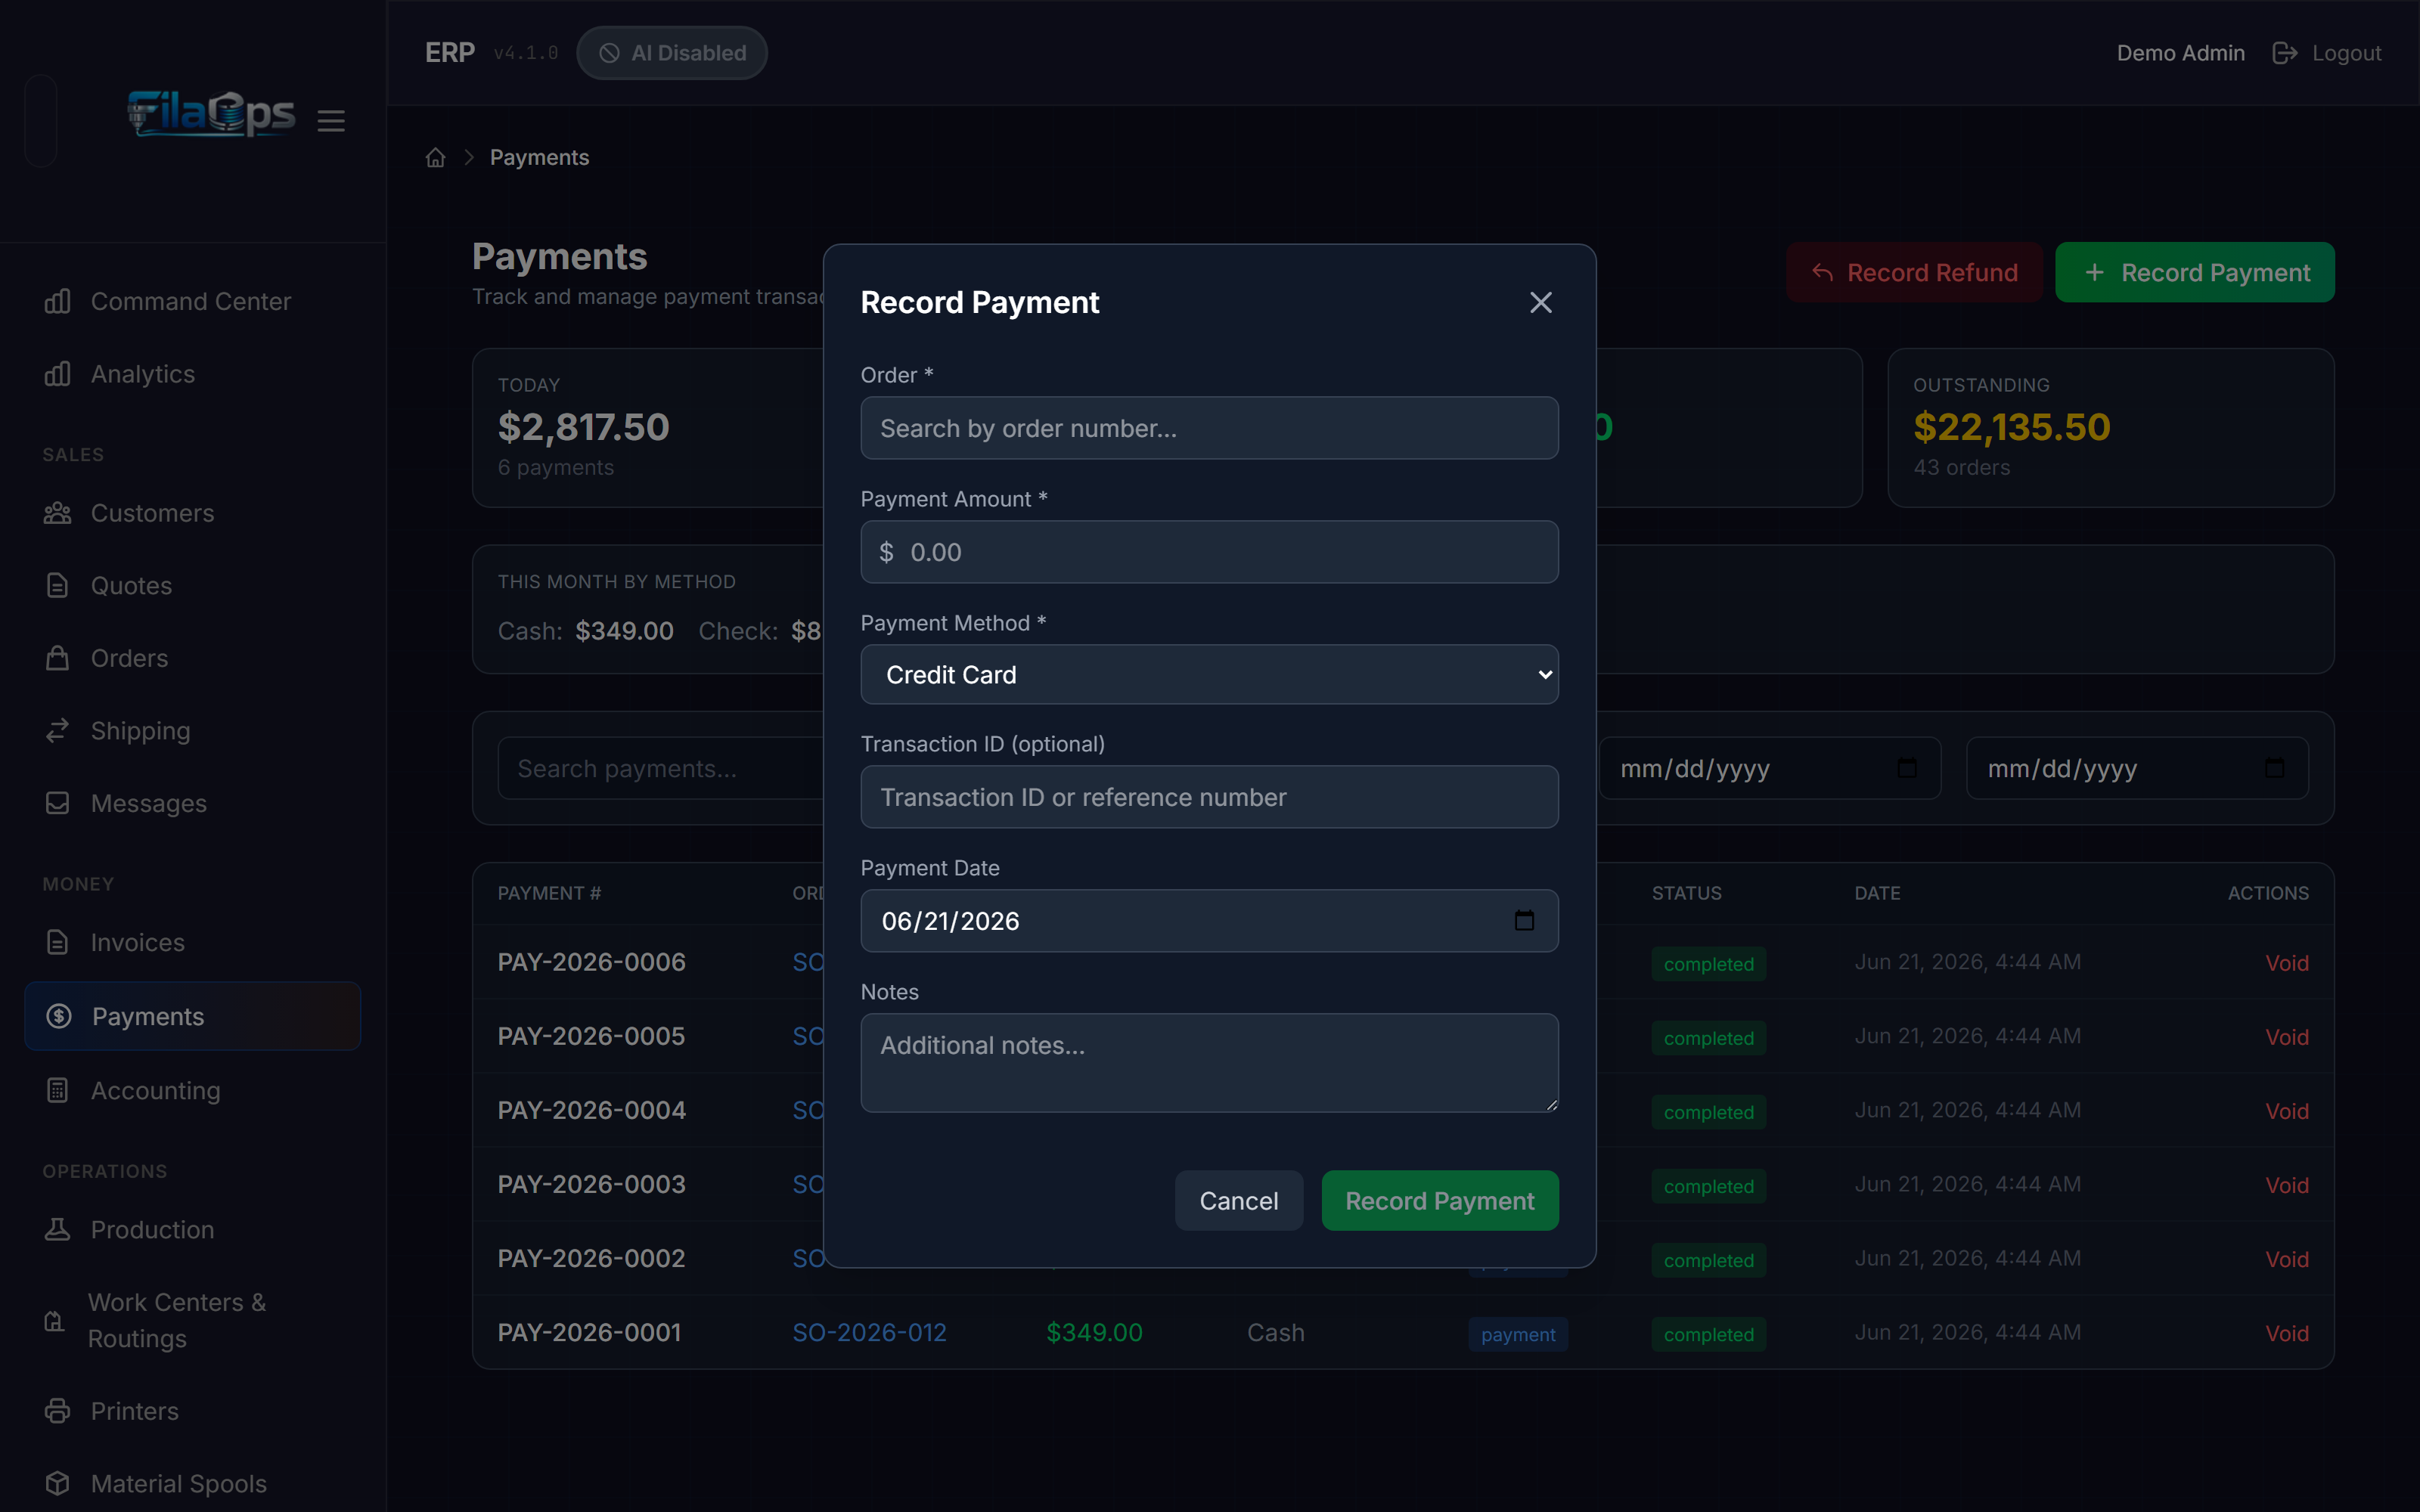
Payment can be recorded at any point after the invoice is created — you do not need to wait until after shipment.
Where: Sales > Orders > open the order > Payments section > Record Payment
- Enter the payment amount.
- Select the payment method.
- Optionally enter a reference number (check number, transaction ID).
- Click Save.
Where: Money > Invoices > open the invoice > Record Payment
Same fields as above. Both paths create identical Payment records and GL entries.
FilaOps:
- Creates a Payment record and posts a GL entry: DR Cash (1000), CR Accounts Receivable (1100).
- Updates the invoice status to Paid or Partially Paid.
- Updates the order's payment status field.
To record a refund, open the Payments section on the order and click Record Refund.
Step 9 — Verify in Accounting
Where: Money > Accounting
Confirm the full transaction flowed through correctly across these tabs:
| Tab | What to check |
|---|---|
| Dashboard | Revenue MTD and Cash Received reflect the order |
| Sales Journal | The invoice appears with AR and Revenue entries |
| Payments | The payment appears with method, amount, and reference |
| COGS & Materials | The shipment COGS entry is present |
| Tax Center | If tax was charged, it appears in the tax summary |
Quick Checklist
- [ ] Quote created and set to Approved or Accepted
- [ ] Quote converted to sales order
- [ ] Sales order confirmed
- [ ] Invoice generated (or payment recorded directly)
- [ ] Production order(s) created and released to the floor
- [ ] Work order(s) completed (or accepted short if partial)
- [ ] Sales order closed short if partial fulfillment (optional)
- [ ] Sales order shipped
- [ ] Payment recorded against the invoice
- [ ] Revenue and payment verified in Accounting
Reference: Key Document Numbers
| Document | Format | Example |
|---|---|---|
| Quote | Q-YYYY-NNNNNN | Q-2026-000012 |
| Sales Order | SO-YYYY-NNN | SO-2026-042 |
| Work Order | PO-YYYY-NNNN | PO-2026-0007 |
| Invoice | INV-YYYY-NNN (prefix configurable) | INV-2026-008 |